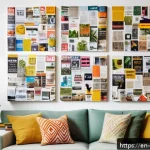
Paper crafting is an incredibly rewarding hobby that blends creativity with hands-on skill. Whether you’re a beginner or a seasoned artist, exploring different techniques can unlock endless possibilities for making personalized gifts, home decor, or even intricate art pieces.

With the rise of DIY culture, paper crafts have become more accessible and popular than ever, offering a perfect way to relax and express yourself. Plus, using eco-friendly materials adds a meaningful touch to your projects.
If you’ve been curious about how to start or elevate your paper crafting game, we’re diving into all the essential tips and tricks. Let’s get into the details and master this beautiful art together!
Mastering the Basics: Essential Paper Crafting Techniques
Choosing the Right Paper for Your Project
When I first started paper crafting, I quickly realized that not all paper is created equal. Picking the right type can make or break your project. For example, cardstock is sturdy and perfect for 3D models or greeting cards, while thinner papers like origami paper excel for delicate folds and intricate designs.
I recommend experimenting with various weights and textures to see what feels best in your hands. Don’t overlook recycled or eco-friendly paper options—they’re not only better for the planet but often have unique textures that add character to your work.
In my experience, a smooth finish is great for detailed drawing or stamping, while a more fibrous texture holds glue and embellishments better.
Mastering Cutting and Folding Techniques
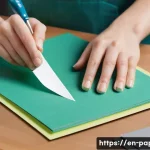
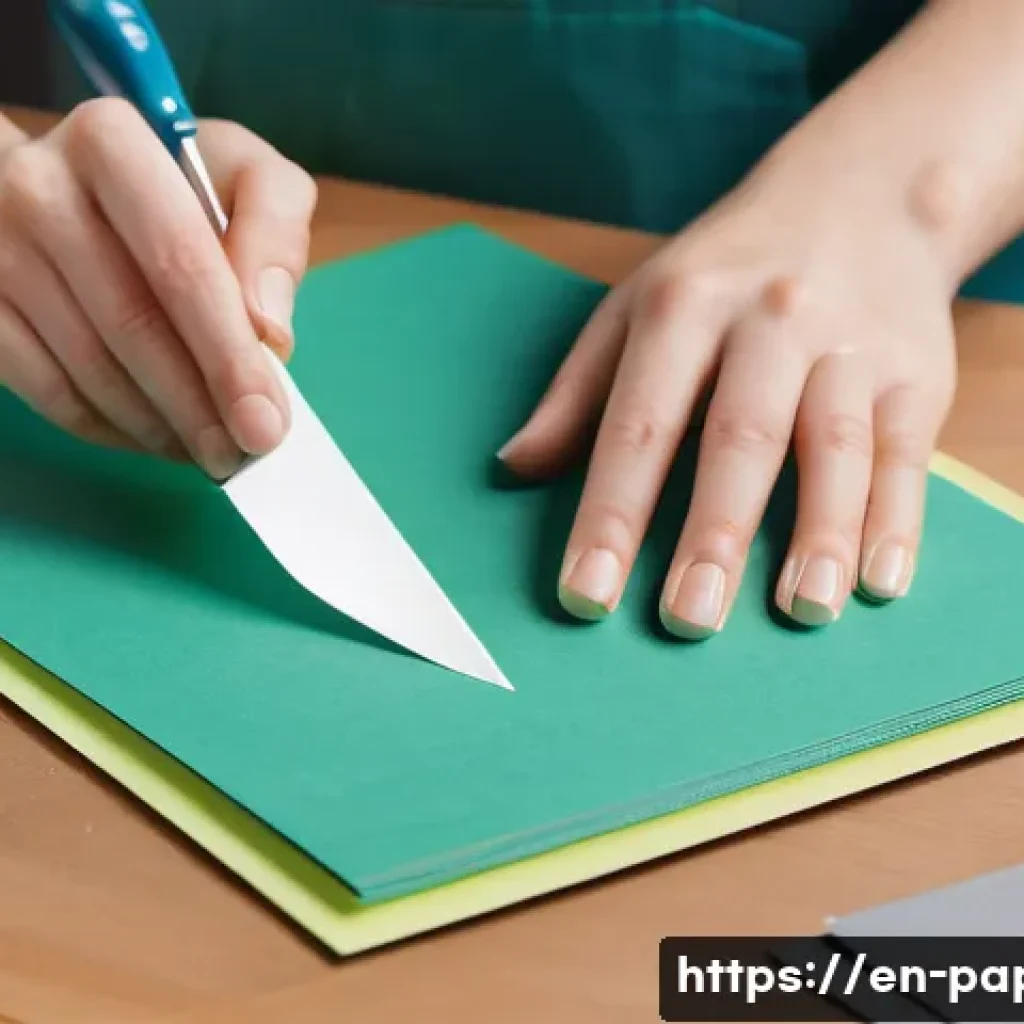
Cutting and folding are the backbone of any paper craft. I used to struggle with uneven cuts until I invested in a sharp craft knife and a self-healing cutting mat—game changers for precision.
When folding, scoring your paper first makes the crease crisp and professional-looking, especially for thicker sheets. I’ve found that using a bone folder or even the back of a butter knife helps achieve clean folds without damaging the paper.
Practicing these small details really boosts the overall quality of your creations. If you’re working on complex projects, don’t rush; taking your time with accurate cuts and folds saves frustration down the line.
Adhesives and Their Best Uses
Selecting the right adhesive is crucial for durability and appearance. I’ve tried everything from basic white glue to double-sided tape and glue dots.
White glue is versatile but can warp thin paper if applied too liberally, so I usually thin it out with a little water or apply it sparingly with a brush.
Double-sided tape offers a clean finish with no drying time, perfect for layering. Glue dots are my go-to for attaching embellishments like buttons or sequins since they hold firmly without mess.
Understanding when to use each adhesive type ensures your project stays intact and looks polished.
Innovative Tools to Elevate Your Crafting Experience
Cutting Machines: Worth the Investment?
For those who want to take their paper crafting to the next level, cutting machines like Cricut or Silhouette can be a fantastic addition. I was hesitant at first, but after using one for a few months, I can honestly say it opened up a world of intricate designs that would have been impossible by hand.
These machines can cut complex shapes, stencils, and even engrave on paper, saving hours of manual work. While they come with a learning curve and upfront cost, the precision and speed they offer are unmatched, especially if you plan on making multiple copies of the same design.
Essential Hand Tools That Make a Difference
Even with high-tech gadgets, traditional hand tools remain irreplaceable. A sturdy pair of scissors with sharp, pointed tips is a must for detailed snipping.
Tweezers come in handy for placing tiny embellishments or folding small paper pieces accurately. I also keep a small ruler and pencil nearby for marking measurements precisely before cutting or scoring.
These simple tools have saved me countless times from mistakes and help maintain clean, professional results.
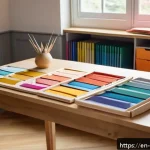
Organizing Your Workspace Efficiently
A cluttered workspace can kill creativity and increase errors, so setting up an organized area is crucial. I created zones for cutting, gluing, and assembling to keep everything streamlined.
Using storage boxes or drawer organizers to separate papers, tools, and embellishments makes it easy to grab what I need without interrupting my flow.
Plus, a clean space reduces the risk of damaging delicate paper projects. Lighting is another important factor; a bright, adjustable lamp helps me see details clearly, especially when working late into the evening.
Creative Ways to Personalize Your Paper Crafts
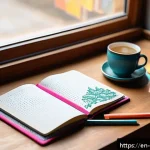
Incorporating Hand Lettering and Calligraphy
Adding hand lettering to your paper crafts injects a personal, artistic touch that transforms any project from simple to stunning. I took a beginner’s calligraphy class, and it’s been one of the most rewarding skills I’ve added to my crafting toolkit.
Even basic brush lettering or faux calligraphy can add elegance to cards, gift tags, or scrapbook pages. You don’t need fancy pens to start—regular brush pens or even fine-tip markers work well when you practice control and consistency.
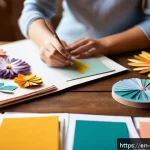
Using Stamps and Embossing for Texture
Stamps and embossing techniques introduce texture and dimension that catch the eye. I love mixing different stamp patterns with colored inks to create backgrounds or focal points.
Heat embossing with powders adds a professional, raised finish that looks incredible on invitations or art prints. This technique requires some practice but is surprisingly easy once you get the hang of it.
Plus, the tactile element makes your crafts feel more luxurious and handmade.
Adding Mixed Media Elements
Integrating other materials like fabric scraps, ribbons, or metallic foils can elevate simple paper projects dramatically. I once combined pressed flowers with paper layering to make a unique greeting card that was a hit with friends.
Experimenting with textures not only makes your crafts more visually interesting but also allows you to express your style more freely. Just be mindful of the weight and thickness to ensure your project remains balanced and easy to handle.
Eco-Friendly Choices for Sustainable Paper Crafting
Choosing Sustainable and Recycled Papers
Incorporating eco-conscious materials has become a priority for me, and it’s surprisingly easy to find beautiful recycled or sustainably sourced papers.
These papers often have unique textures and colors that add charm to any project. Brands now offer acid-free, chlorine-free options that are better for both your craft and the environment.
Supporting these products aligns with a mindful crafting philosophy and helps reduce waste.

Minimizing Waste and Upcycling
Paper crafting naturally produces scraps, but I’ve learned to minimize waste by repurposing small pieces into tags, confetti, or embellishments. I also save leftover paper from previous projects and use it in collages or mixed media art.
Upcycling old greeting cards or packaging materials not only saves money but adds a layer of history and character to new creations. It’s a rewarding way to be resourceful and creative simultaneously.
Non-Toxic and Biodegradable Adhesives
Switching to non-toxic, biodegradable adhesives has been a game changer for my crafting routine. Not only are they safer for my health, especially when working in a small space, but they also contribute less to environmental pollution.
Brands now offer plant-based glues and tapes that perform just as well as traditional options. It’s worth checking labels and choosing products that align with your values without sacrificing quality.
Design Inspiration and Planning Your Projects
Finding Inspiration in Everyday Life
I often find my best ideas from simple things around me—nature, architecture, or even patterns on fabric. Keeping a small sketchbook or a digital mood board helps capture these sparks of creativity before they slip away.
Pinterest and Instagram are also goldmines for fresh ideas, but I always try to add my own twist rather than copying directly. Observing details like color combinations or shapes can fuel unique projects that feel authentic.
Sketching and Drafting Your Ideas
Before cutting into paper, I sketch rough drafts to visualize my design and plan measurements. This step saves a ton of time and frustration, especially for complex projects like pop-up cards or layered art.
I use pencil first so I can adjust freely, then finalize with ink or digital tools if needed. Drafting also helps me calculate how much material I’ll need, which is crucial for budgeting and minimizing waste.
Creating a Project Timeline
Breaking your project into manageable steps with a timeline keeps things on track and prevents burnout. I usually allocate specific days for cutting, assembling, and decorating, depending on the complexity.
For example, a detailed scrapbook page might take several sessions, while a simple card can be done in one go. Setting realistic deadlines also helps maintain motivation and ensures your final piece is polished, not rushed.
Advanced Techniques to Challenge Your Skills
3D Paper Sculpting and Layering
Diving into 3D paper sculpting was intimidating at first, but once I mastered layering techniques, my projects gained incredible depth and dimension. This approach involves stacking cut shapes with foam pads or folded bases to create shadows and a sense of movement.
It’s perfect for making eye-catching wall art or elaborate greeting cards. Patience is key here, as precise cutting and gluing determine the overall effect.
Quilling for Intricate Details
Quilling involves rolling narrow strips of paper into coils and shapes to form decorative designs. It’s a delicate technique that requires steady hands and practice but results in mesmerizing patterns.
I started with simple shapes and gradually moved to more complex motifs like flowers and geometric designs. Quilling adds a tactile, almost lace-like detail that’s perfect for embellishing cards or framed art.
Incorporating Digital Design and Printables
Blending traditional paper crafting with digital tools unlocks limitless possibilities. I create custom printables or cut files using design software, then add hand-crafted touches like painting or embellishing.
This hybrid approach streamlines repetitive elements and allows for perfect symmetry, while still keeping the handmade charm. For anyone comfortable with tech, this method can boost productivity and creativity simultaneously.
| Technique | Recommended Tools | Best Paper Types | Difficulty Level |
|---|---|---|---|
| Cutting and Folding | Craft knife, cutting mat, bone folder | Cardstock, origami paper | Beginner to Intermediate |
| Stamping and Embossing | Rubber stamps, embossing powder, heat gun | Textured cardstock, smooth paper | Intermediate |
| Quilling | Quilling tool, tweezers, glue dots | Quilling strips, lightweight paper | Intermediate to Advanced |
| 3D Sculpting | Foam pads, craft knife, glue | Heavy cardstock | Advanced |
| Digital Hybrid Crafting | Design software, cutting machine | Printable paper, cardstock | Intermediate to Advanced |
Wrapping Up
Mastering basic paper crafting techniques opens the door to endless creativity and personal expression. With the right materials, tools, and a bit of practice, anyone can create beautiful, professional-looking projects. Remember, patience and experimentation are key to improving your skills and enjoying the process. Whether you’re a beginner or advancing into more complex designs, these foundations will support your crafting journey.
Helpful Tips to Keep in Mind
1. Always test different paper types to find what works best for your specific project and style.
2. Invest in quality cutting tools and learn proper folding techniques to enhance precision and finish.
3. Choose adhesives carefully based on the materials and desired durability of your craft.
4. Organize your workspace to maintain focus and avoid damaging delicate paper pieces.
5. Incorporate eco-friendly materials and upcycle scraps to make your crafting more sustainable.
Key Takeaways
Selecting the right supplies and mastering fundamental skills are essential for successful paper crafting. Precision in cutting and folding directly impacts the final look, while choosing appropriate adhesives ensures durability. Combining traditional hand tools with innovative technology can elevate your projects, but maintaining an organized workspace is equally important. Lastly, embracing sustainable practices not only benefits the environment but also enriches your creative experience.
Frequently Asked Questions (FAQ) 📖
Q: What basic tools do I need to get started with paper crafting?
A: When I first dove into paper crafting, I found that having just a few essentials made all the difference. Start with a good pair of sharp scissors, a craft knife for detailed cuts, a cutting mat to protect your surfaces, and a reliable glue stick or double-sided tape.
Also, invest in some quality cardstock or patterned paper to practice on. Once you get comfortable, you can add embellishments like ribbons, stamps, or embossing tools to elevate your projects.
Q: How can I make my paper crafts more eco-friendly?
A: I’ve always felt better knowing my creative hobby leaves a smaller footprint. Using recycled or sustainably sourced paper is a great first step. You can also repurpose old magazines, newspapers, or scrap paper for unique textures and patterns.
Avoid plastic-based adhesives or decorations and opt for natural or biodegradable options whenever possible. Even small changes like these add up and make your crafting more meaningful.
Q: How do I keep my paper crafts looking neat and professional?
A: From my experience, patience and precision are key. Take your time with cutting and folding—rushing often leads to uneven edges or creases. Use tools like bone folders for crisp folds and rulers to guide straight cuts.
Also, practicing proper glue application helps avoid messy smudges or warping. If you mess up, don’t stress! Sometimes imperfections add character, and you’ll get better with each project.