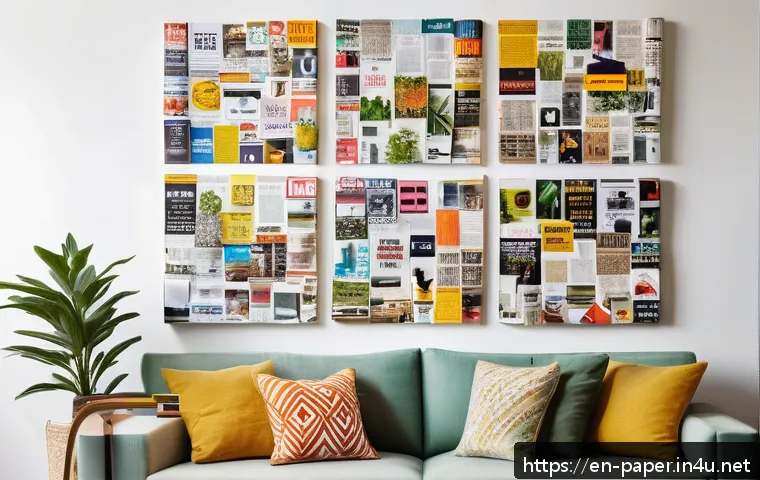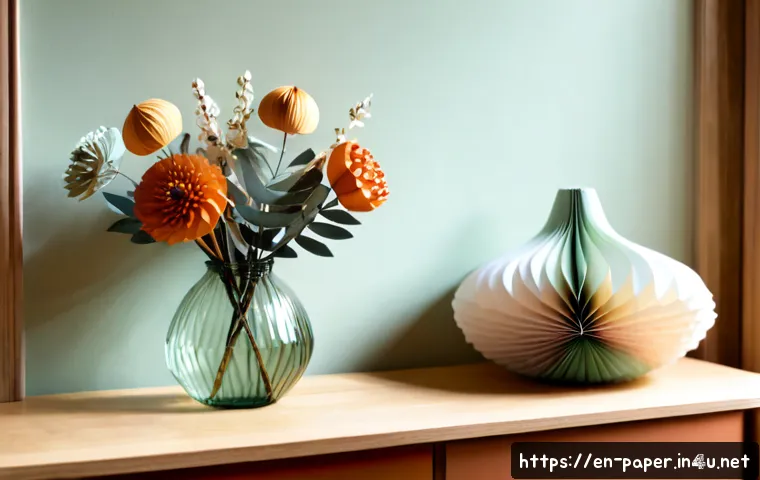
For a quick event, a pre-cut paper décor kit can reduce setup time. For reusable home displays, cardstock pieces stored flat and dry are usually a more practical choice, while custom-made décor suits specific themes or larger displays that need a coordinated look.
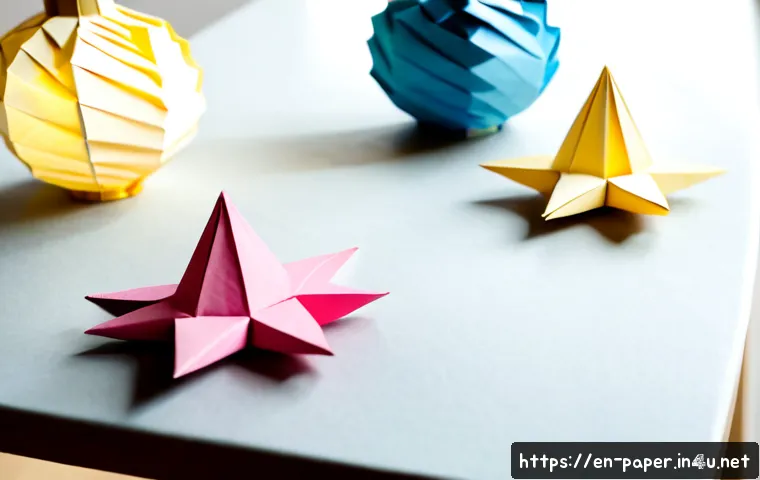
The best option depends on where the decorations will go, how long they will stay up, and how much assembly time you have. Tissue paper creates soft volume for pom-poms, flowers, tassels, and hanging displays, while cardstock provides more structure for layered or freestanding pieces.
DIY craft supplies offer the most freedom with color and size, but they also require cutting, fastening, and planning. Before buying paper, a craft kit, cutting tools, or a custom design, check the material finish, hanging surface, storage plan, and any venue rules.
At a Glance
- Choose DIY supplies when you want full control over colors, shapes, and details and have time to assemble.
- Choose a pre-cut craft kit when a coordinated look and faster setup matter more than complete flexibility.
- Consider custom paper décor for specific themes, larger displays, or occasions with limited setup time.
| Option | Effort | Flexibility | Durability Considerations | Budget Considerations |
|---|---|---|---|---|
| DIY paper craft supplies | More cutting, folding, and assembly | High: choose paper, colors, sizes, and layout | Depends on paper quality, adhesive, handling, humidity, and storage | Compare paper, adhesive, and cutting-tool needs before starting |
| Pre-cut craft kits | Usually less preparation | Moderate: designs and colors are generally set | Depends on included materials and how pieces are assembled and stored | Useful when coordinated materials and reduced setup time are priorities |
| Custom-made décor | Less cutting by the buyer, but planning may still be needed | High for theme-specific requests | Ask about paper type, assembly needs, handling, and storage | Costs and delivery timing vary by design complexity, quantity, location, and retailer |
What Paper Decorations Work Best for Your Space or Event?
The right paper décor starts with the setting. A lightweight hanging garland may work well for a short indoor celebration, while a layered centerpiece or freestanding sign usually benefits from sturdier cardstock. Think about the room, the display period, who will handle the decorations, and whether you intend to keep them after the event.
Three Quick Answers for DIY Projects, Ready-to-Use Kits, and Custom Pieces
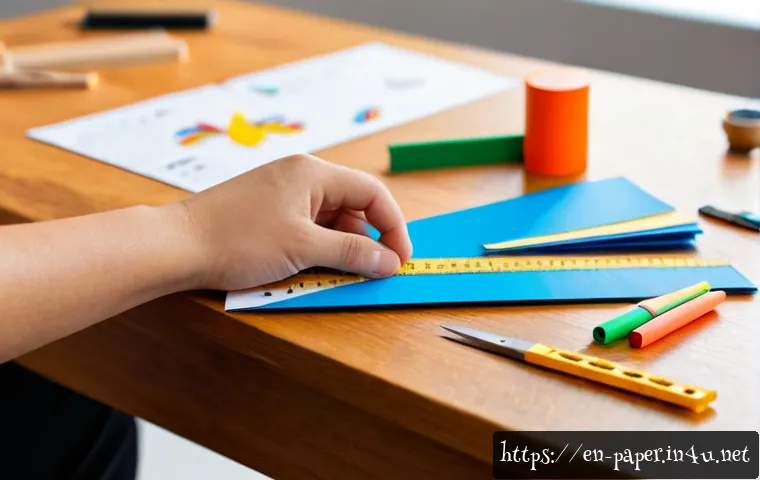
Choose DIY paper decorations when you want to match a particular color palette, create personal gift details, or make several pieces in different sizes. This route works best when you can prepare before the event and have the needed craft supplies, such as paper, adhesive, and suitable cutting tools.
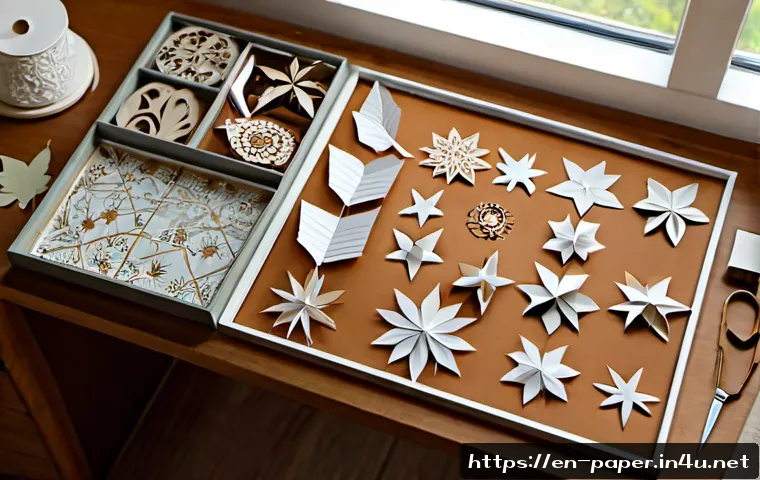
Choose a ready-to-assemble kit when speed matters. Pre-cut pieces can reduce repetitive measuring and cutting, which can be helpful for party hosts, teachers, and community-event organizers. Review what assembly is still required before choosing a kit.
Choose custom paper décor when a standard kit does not fit the theme, scale, or visual purpose of the display. A custom order may be worth considering for a photo corner, a shop display, or a coordinated event backdrop, but custom designs can require more planning and assembly.
Start with Location, Event Duration, and Storage Needs
Indoor and sheltered locations are generally easier for paper decorations. If décor will be near an entryway, patio, or outdoor gathering area, consider whether it will be exposed to weather. Paper used outdoors may need weather-resistant materials or a protected placement.
For a one-day party, lightweight pieces may be perfectly suitable. For a seasonal home display or classroom theme, choose materials with storage in mind. Reusable paper décor is most practical when it can be stored flat, dry, and protected from crushing.
Also check the hanging location before buying supplies. Walls, ceilings, windows, shelves, and display boards all have different attachment needs. Local venue rules may limit hanging methods or decorative materials, so confirm them before preparing a large installation.
Compare Paper Types, Ready-Made Kits, and Custom Décor Options
Paper weight and finish affect folding, shape retention, and light reflection. Choosing by appearance alone can lead to a decoration that droops, creases too easily, or feels unnecessarily heavy for the intended surface.
Tissue Paper, Cardstock, Crepe Paper, and Recycled Paper: Practical Differences
Tissue paper is commonly used for pom-poms, flowers, tassels, and soft hanging displays. Its lightness helps create volume, but it should be handled gently because delicate shapes can be crushed or torn.
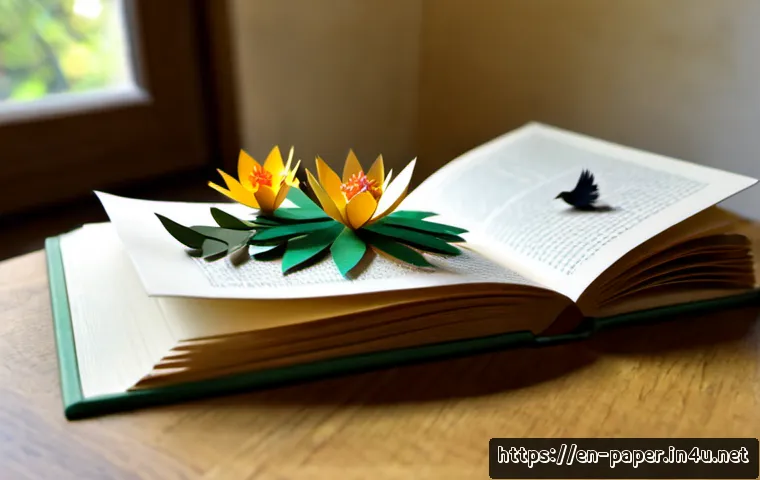
Cardstock is generally sturdier than lightweight copy paper for freestanding or layered decorations. It can be a practical choice for paper banners, dimensional letters, layered cutouts, and pieces that need to hold a defined shape. Consider the finish as well: it can change how the decoration reflects room lighting.
Crepe paper can be useful where a softer, flexible look is wanted, such as streamers or floral-style details. Recycled paper may suit rustic, handmade, or low-gloss designs, but its appearance and firmness can vary. For either material, make a small sample first if the design depends on tight folds or crisp layers.
DIY Supplies vs. Craft Kits vs. Custom Orders: Time, Cost, and Flexibility
DIY supplies make sense when customization is the main goal. You can select paper weight, finish, colors, and shapes separately. The tradeoff is time: cutting, folding, spacing, attaching, and cleanup all remain your responsibility.
Craft kits can make a project more manageable by grouping compatible materials or providing pre-cut elements. They are especially useful when you need repeated shapes for a party backdrop, a classroom display, or seasonal décor. However, check whether the kit matches your available hanging surface and whether the finished pieces can be stored for reuse.
Custom orders shift some of the design work away from the buyer. They can be appropriate when you need a specific theme, coordinated display, or limited setup time. Exact custom-order costs and delivery times vary by retailer, location, design complexity, and order quantity. Review item details carefully rather than assuming a custom piece will arrive assembled or be reusable.
When Paying More for Sturdier Materials Makes Sense
Sturdier paper can be a sensible choice when decorations will stand on a table, include multiple layers, be moved between rooms, or be saved for another occasion. Cardstock may also be preferable when a decoration needs sharper edges or a more structured form.
It may not be necessary to use the heaviest material for every element. Soft tissue paper can still be the better fit for airy flowers or hanging pom-poms. A mixed-material approach often works well: use structured paper for the main shape and lighter paper for soft texture.
Before purchasing craft supplies or a custom décor piece, look for material type, assembly requirements, intended use, and storage guidance. Those details are often more useful than judging by a product photo alone.
Plan and Assemble Paper Décor Without Common Mistakes
Good paper décor is usually planned before the first cut. A simple layout check can prevent an oversized backdrop, mismatched colors, or hanging pieces that do not fit the available space.
Match Size, Color Palette, and Hanging Method Before Cutting
Start by identifying the focal point: a table, wall, doorway, shelf, or photo corner. Then decide whether the display needs one large statement piece or several smaller accents. Keep the color palette limited enough that the paper textures and shapes remain easy to see.
Choose the hanging method early. A lightweight garland and a layered cardstock sign may require different fasteners. If you are decorating a venue, school, rental space, or shop, confirm the permitted attachment method before preparing the final pieces.
For a DIY project, make one test piece first. It helps you see whether the folds stay crisp, whether the chosen paper reflects light as expected, and whether the scale looks right from normal viewing distance.
Choose Adhesives and Fasteners That Fit the Surface
Adhesive choice affects both the decoration and the surface behind it. Select an option that suits the paper weight and the attachment point. A weak attachment may fail during the event, while an unsuitable adhesive may make removal more difficult.
For layered paper shapes, make sure each layer is supported rather than relying on one small connection point. For hanging displays, inspect the top edge, string, and connection points before placing the decoration in its final location.
Do not assume every adhesive or fastener is appropriate for every wall, ceiling, window, or display board. Check product guidance and venue requirements where applicable.
Avoid Crushed Shapes, Uneven Spacing, and Weak Attachment Points
Paper decorations often look more polished when spacing is planned instead of guessed. Lay pieces on a table or floor before attaching them, especially for banners, photo backdrops, and repeated wall accents.
Keep delicate tissue paper pieces away from busy walkways and areas where they may be touched repeatedly. For layered decorations, avoid stacking finished items under heavier supplies. If a piece is intended for reuse, let it rest flat or protect its shape with a container that prevents crushing.
Inspect the display after it is assembled. Look for sagging strings, uneven rows, loose layers, and pieces positioned too close to lighting or heat sources.
Paper Decoration Ideas by Use Case

The most useful design is one that fits the activity around it. A party display can prioritize visual impact and quick installation, while a home accent may prioritize storage and a quieter color palette.
Fast Party Backdrops, Table Accents, and Photo Corners
For a fast party setup, combine a few high-visibility elements rather than covering every surface. Tissue paper pom-poms, tassels, and soft flowers can add height and movement. Cardstock letters, layered shapes, or a simple banner can provide a more defined focal point.
A photo corner benefits from a planned backdrop and clear open space in front of it. Keep fragile paper details where guests are less likely to brush against them. If the event is outdoors, use sheltered placement or select materials appropriate for the conditions.
Lightweight Home Décor for Shelves, Walls, and Seasonal Displays
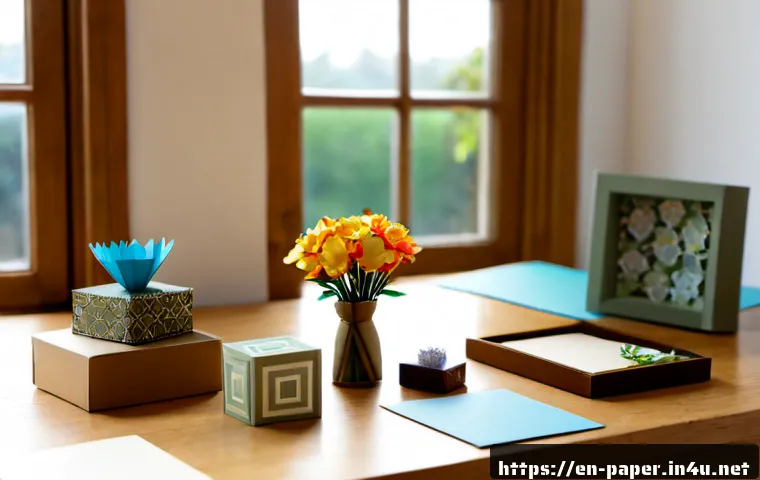
For everyday interiors, small paper accents can be easier to manage than a large installation. Consider layered cardstock shapes on a shelf, a light garland across a protected wall area, or paper flowers in a seasonal arrangement.
Choose colors and finishes that suit the room’s existing light. A reflective finish may change appearance depending on the lighting, while a softer finish can blend more quietly into the space. If you plan to reuse the display, keep the pieces away from moisture and store them flat after the season ends.
Classroom, Retail, and Community-Event Displays with Practical Setup Needs
For classrooms and community spaces, clear setup and easy removal can matter as much as appearance. Pre-cut craft kits may reduce preparation time when multiple people are assembling the display. Use simple repeated shapes when the project involves groups, and keep fragile pieces away from high-contact areas.
Retail displays may need a more intentional theme and stronger visual structure. Custom paper décor can be worth exploring for a specific campaign or display concept, but confirm available setup time, hanging rules, and the materials needed for safe installation.
In any shared space, check local rules about decorative materials and attachment methods before committing to a design.
Make Paper Décor Last Longer: Safety, Cleanup, and Storage
Paper decorations can be reusable, but only when handling and storage match the material. Protecting paper from heat, moisture, crushing, and repeated pulling helps preserve its shape and finish.
Keep Paper Away from Flames, Heat Sources, and Unsuitable Lighting
Paper is combustible. Keep paper décor carefully separated from flame sources, exposed bulbs, and other heat sources. Do not place paper decorations where they can contact lighting or where heat may build up around them.
When planning a centerpiece, backdrop, or hanging arrangement, check the full display area rather than only the paper itself. A decoration that looks safely placed at first can become a concern if moved closer to a heat source during setup.
Protect Decorations from Moisture, Direct Weather, and Frequent Handling
Humidity, moisture, handling, and paper quality can all affect the durability of a finished piece. Tissue paper and folded shapes can lose their intended form if they are compressed or exposed to unsuitable conditions.
Outdoor placement requires extra care. If the display cannot be sheltered, consider whether paper is the right material for that specific location. Even a well-made paper piece may not be suitable for direct weather exposure.
Store Reusable Pieces Flat or in Labeled Containers
Store flat items flat whenever possible. Separate layered or dimensional pieces so that edges and folds are not pressed into one another. A labeled container can make seasonal décor easier to find and helps prevent accidental crushing.
Keep stored paper décor dry and away from items that could bend, stain, or compress it. Before reusing a piece, inspect adhesive points, hanging loops, and folded sections for wear.
Selection Criteria and Comparison Summary
Use this checklist before choosing paper craft supplies, a party décor kit, or a custom order:
- Location: Is the display indoors, sheltered, or exposed to weather?
- Structure: Does the decoration need to stand, hold layers, or simply hang lightly?
- Time: Do you have time for cutting and assembly, or do pre-cut pieces make more sense?
- Reuse: Can the finished décor be stored flat, dry, and protected from crushing?
- Installation: What surface will hold it, and are there venue rules to confirm?
- Theme: Is a standard kit enough, or does the event need a custom design?
Choose DIY when customization matters and preparation time is available. Choose a kit when speed and coordinated materials matter most. Consider custom-made décor for large displays, specific themes, or limited setup time. For any kit, cutting tool, adhesive, or custom item, check the product page for material details, assembly steps, and applicable conditions before ordering.
Conclusion
Paper décor can be simple or detailed, but the best choice is usually the one that matches the location and the amount of preparation you can realistically do. Tissue paper is useful for soft, lightweight volume, while cardstock generally offers more support for structured designs. Kits can simplify setup, and custom pieces can help when the theme or display scale calls for something more specific. Plan the attachment method and storage approach before making a purchase or starting to cut.
Useful Information to Keep in Mind
1. Paper weight and finish influence folding, shape retention, and light reflection.
2. Cardstock is generally sturdier than lightweight copy paper for layered or freestanding decorations.
3. Tissue paper is commonly used for pom-poms, flowers, tassels, and soft hanging displays.
4. Pre-cut craft kits can reduce setup time, but they may still require assembly.
5. Reusable paper décor is easiest to keep when it is stored flat, dry, and protected from crushing.
Important Considerations
Exact prices, custom-order costs, delivery times, and finished durability vary by retailer, location, order quantity, design complexity, paper quality, adhesive choice, humidity, handling, and storage. Check local venue rules before using hanging materials or decorative attachments. Keep all paper decorations carefully separated from flames, exposed bulbs, and other heat sources.
Frequently Asked Questions
Q1. Is it cheaper to make paper decorations or buy a kit?
A1. It depends on the materials needed, the design, and the amount of preparation time available. DIY supplies offer more flexibility, while a pre-cut kit can reduce setup work. Compare the paper, adhesive, cutting-tool, and assembly needs before deciding.
Q2. What type of paper is best for durable hanging decorations?
A2. Cardstock is generally sturdier than lightweight copy paper and can be a practical option for layered or structured hanging pieces. The best choice still depends on the decoration’s size, the attachment method, handling, humidity, and storage conditions.
Q3. Are custom paper decorations worth ordering for a party or small business display?
A3. Custom décor can be worth considering when you need a specific theme, a coordinated large display, or less time spent on cutting and design work. Confirm the material, assembly needs, delivery timing, storage options, and total conditions with the seller because these details vary.