For quick gifts or classroom projects, start with folded paper, simple layers, or basic pop-up cards using scissors and a scoring tool. For detailed framed art, intricate lettering, or repeatable small-batch products, layered cardstock, quilling, and precision cutting offer a more polished finish but require more planning.

The best paper art technique depends on the level of detail you want, the time you have, and whether you prefer hand tools or an electronic cutting machine.
Beginners usually get cleaner results by choosing one technique and a small material list rather than buying every specialty supply at once. Paper quality, adhesive control, and accurate folds often make a bigger visible difference than complicated designs.
Compare cutting tools and paper options based on the projects you actually plan to make.
At a Glance
- Fastest starting point: folded paper, simple cut-paper cards, and basic layered designs need few supplies.
- Best for detailed decor: layered cardstock art and precision cut-paper projects reward careful measuring and clean cuts.
- Best for repeated designs: an electronic cutting machine may help when you make the same detailed shapes often.
| Tool or Method | Best Use | Detail Level | Investment Consideration |
|---|---|---|---|
| Scissors | Simple shapes, classroom crafts, quick cards | Low to moderate | Useful for almost every beginner setup |
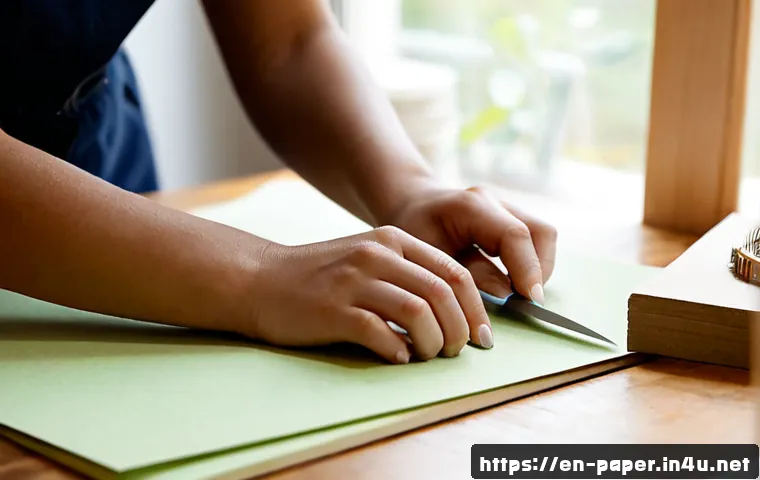
| Craft knife and cutting mat | Interior cuts, sharp corners, detailed silhouettes | Moderate to high | Needs controlled handling and a protected work surface |
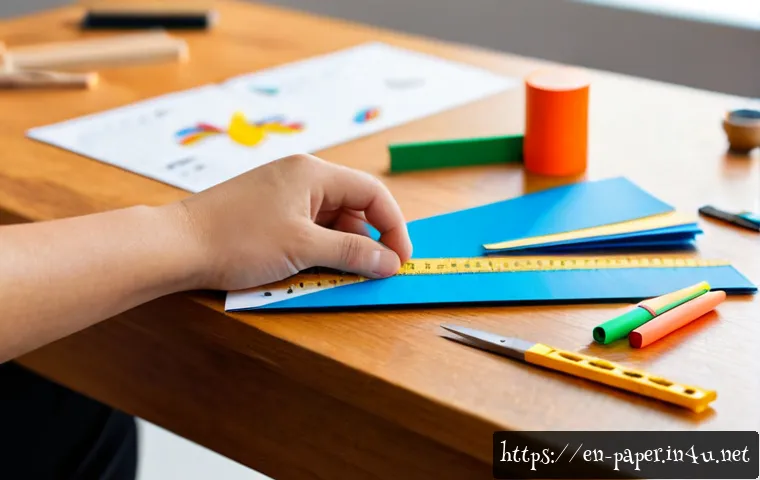
| Paper trimmer | Straight borders, card bases, repeated paper sizes | Moderate | Helpful when clean, repeatable edges matter |
| Scoring tool | Crisp folds, pop-ups, card construction | Moderate | A focused upgrade for folding-based projects |
| Electronic cutting machine | Repeated shapes, complex cut files, small-batch work | High | Compare material settings, file support, mats, and blade options before investing |
Which Paper Art Method Fits Your Project?
Quick Answer: Choose by Detail Level, Time Available, and Desired Finish
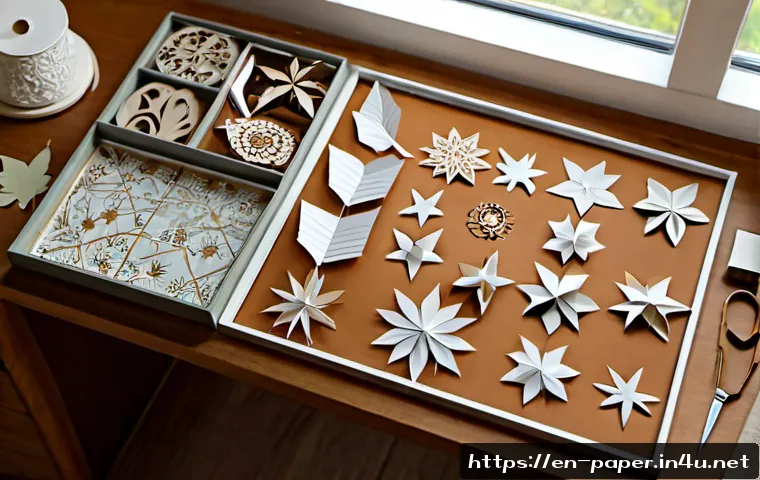
Choose folded paper if you want a low-cost way to practice structure and accuracy. Choose layered cardstock when you want depth for greeting cards or framed decor. Choose quilling for decorative lines, lettering, and patterned surfaces. Pop-ups work well when the project needs movement, while precision cut-paper work suits display pieces with fine negative space.
A simple rule helps: the more intricate the shape, the more important your cutting tool, paper stability, and assembly method become. Do not begin with tiny cutouts if you have not yet tested how your paper reacts to cutting and glue.
A Beginner-Friendly Overview of Folding, Layering, Quilling, Pop-Ups, and Cut-Paper Design
Folding teaches clean creases and alignment. Layering creates depth by stacking shapes or using foam spacers. Quilling uses narrow paper strips shaped into coils, curves, and decorative forms. Pop-up construction depends on measured folds and balanced tabs. Cut-paper design removes or separates areas of paper to create a silhouette, scene, or detailed illustration.
For beginners, a card with two or three layers is often more manageable than a large shadow-box design. Small practice pieces also make it easier to decide whether a specialty paper, precision cutter, or scoring board would genuinely improve your results.
Safety Basics Before Working With Blades, Glue, and Small Components
Use sharp tools only on a stable surface with a suitable cutting mat. Keep fingers away from the blade path, cut slowly, and store blades safely when not in use. Small quilling pieces, sharp tools, and adhesives may not suit every child or classroom setting without appropriate supervision. Tool suitability depends on sharpness, skill level, and the project itself.
Compare Popular Styles by Difficulty, Time, and Tool Cost
Folded Paper Projects for Low-Cost Practice
Folded projects are a practical starting point because they rely on accurate creases rather than expensive equipment. A scoring tool can improve heavier paper folds, but basic practice can begin with simple hand tools. Focus on lining up corners before pressing the fold; once a crease is sharply made, it is difficult to correct.
Layered Cardstock Art for Framed Decor and Greeting Cards
Layered paper art works by separating foreground and background shapes. Use contrasting colors or textures so each layer remains visible. A paper trimmer helps with clean borders, while a craft knife can handle detailed interior sections. Keep the number of layers realistic for your available adhesive and mounting space.
For depth without bulk, use thin foam spacers selectively rather than placing thick adhesive behind every piece. Test the stack before gluing. This helps prevent a frame, card, or envelope from becoming too crowded.
Quilling for Decorative Patterns and Lettering
Quilling is suited to floral motifs, borders, monograms, and decorative lettering. The main challenge is consistent shaping, not complex cutting. Use paper strips that hold their form, apply small amounts of adhesive, and allow each component to settle before moving it. Too much glue can flatten coils or leave visible marks.
Pop-Up Structures for Interactive Cards and Books
Pop-up cards need a reliable sequence: measure, score, fold, test, then attach decorative elements. Build the structure first and add artwork afterward. If you glue a heavy layered element onto an untested mechanism, the card may not close properly. A scoring tool and ruler are especially useful for this style.
Precision Cut-Paper Work for Detailed Display Pieces
Precision cutting creates striking display art, but it demands patience. Fine bridges of paper can tear, and very small openings can become difficult to remove cleanly. Choose a design with fewer fragile connections for your first project. If you plan to make detailed designs repeatedly, compare craft knives, replacement blade options, cutting mats, and electronic cutting-machine features before buying.
Materials and Tools That Make a Visible Difference
Choosing Paper Weight, Texture, Color, and Grain Direction
Paper choice affects folding, cutting, and assembly. Lightweight paper may fold easily but can wrinkle under adhesive. Heavier cardstock can create stronger layers, though tight folds and intricate cuts may require more care. Texture can add interest, but very textured surfaces may make fine cuts or small glued elements less predictable.
Before committing to a full design, test a scrap piece. Check whether the paper cuts cleanly, folds without cracking, and stays flat after adhesive is applied. If grain direction is noticeable, test folds in both directions and choose the cleaner result.
When Scissors Are Enough—and When a Craft Knife or Paper Trimmer Helps
Scissors are enough for open shapes, rounded edges, and general trimming. A craft knife is more useful for windows, corners, and details that scissors cannot reach. A paper trimmer is valuable when you need repeated straight cuts for card bases, borders, backing sheets, or product packaging inserts.
Buy for the task, not the appearance of the tool. A beginner making occasional cards may need scissors, a ruler, and adhesive first. Someone producing many matching invitations or layered prints may benefit more from a trimmer or cutting machine.
Adhesives, Foam Spacers, Scoring Tools, and Cutting Mats
Choose adhesive according to the size and shape of the paper piece. Apply it sparingly and keep it away from exposed edges. Foam spacers add dimension, but they should support the layer evenly. A scoring tool improves fold placement, while a cutting mat protects the table and supports cleaner knife work.
For a clean finish, assemble from the back layer forward. Keep a scrap sheet nearby to test adhesive flow before applying it to the final artwork.
Hand-Cutting Versus Electronic Cutting Machines: Value and Limitations
Hand-cutting offers control, flexibility, and a low barrier to entry. It is a strong option for one-off cards, learning basic techniques, and designs that change frequently. It can become slow when a project contains many repeated shapes or detailed elements.
Electronic cutting machines can simplify repeated cutting and complex patterns, but results vary by file format, mat condition, blade type, material settings, and the paper used. They are not automatic guarantees of cleaner work. Compare supported materials, replacement supplies, design workflow, and setup requirements before investing in a cutting machine.
Build a Clean Paper Artwork Step by Step

Plan the Design and Test a Small Section First
Sketch the order of your layers or folds before cutting the final paper. Identify which pieces sit behind others and where tabs, spacers, or glue will be hidden. Test one detailed area first, especially if it includes narrow cuts, repeated curves, or a complex fold.
Measure, Score, Cut, and Assemble in the Right Order
Measure and mark lightly. Score before folding, cut major shapes before tiny details, and remove delicate interior pieces carefully. Lay out every component without adhesive before final assembly. This dry fit reveals alignment problems while they are still easy to fix.
Create Depth With Layers Without Adding Bulky Adhesive
Use flat adhesive for background layers and reserve foam spacers for focal points. Keep spacer placement away from exposed edges. If a layer bends or sits unevenly, reduce the number of raised sections rather than adding more adhesive.
Finish, Mount, and Protect Completed Work
Check the artwork under good light for loose corners, glue residue, or uneven borders. Mount finished paper art on a backing sheet that supports the composition. For cards, test opening and closing before presenting them. For display pieces, avoid pressing the surface against a cover that may flatten raised layers.
Avoid Common Problems That Make Projects Look Untidy
Prevent Torn Edges, Crushed Corners, and Uneven Curves
Torn edges often come from rushing, dull blades, unsupported paper, or designs that are too intricate for the chosen material. Make controlled cuts and rotate the paper rather than forcing your hand into an awkward angle. Protect corners by handling finished pieces from the edges.
Stop Paper From Warping After Glue Application
Warping usually begins when too much wet adhesive is concentrated in one area. Use a light, even application and avoid saturating thin paper. Let glued sections rest flat while they set. Test unfamiliar adhesive on scraps before using it on a finished design.
Fix Misaligned Layers and Visible Adhesive Marks
Prevent misalignment by marking registration points lightly or using a dry layout. If adhesive is visible, avoid rubbing it across the paper surface, which can spread the mark. Replace a small flawed piece when possible instead of trying to hide a noticeable error with extra decoration.
Know When a Design Is Too Intricate for the Available Tools
If thin areas tear repeatedly, simplify the pattern, enlarge narrow connections, or choose a sturdier paper. A more complex file does not always create better artwork. Match the detail level to your hand control, cutting method, and time available.
Choosing Your Tools and Materials: A Practical Comparison Summary
Best Starter Setup for Occasional Crafting
A practical starter setup includes scissors, a ruler, basic adhesive, a few paper or cardstock colors, and a protected work surface. Add a scoring tool if folded cards or pop-ups are your main interest. This setup supports simple layering, folding, and cut-paper practice without requiring a large tool investment.
Best Upgrades for Detailed Cards, Decor, or Repeated Projects
For cleaner repeated work, consider a paper trimmer for straight edges, a craft knife and cutting mat for interior details, foam spacers for controlled depth, and specialty papers chosen for the style you make most often. Quilling projects may benefit from consistent paper strips and a tool that helps form coils.
When an Electronic Cutter May Justify Its Cost
An electronic cutter may be worth considering when you regularly make repeated shapes, detailed cut files, coordinated card sets, or small-batch paper products. It is less essential when you enjoy one-of-a-kind hand-cut work or mostly use simple geometric forms. Compare features before investing in a cutting machine, including the materials you intend to cut and the workflow required for your design files.
Final Checklist Before Buying Specialty Paper or Equipment
Check these points before buying: your preferred project type, the detail level of your designs, the paper you expect to use, the amount of repeated cutting involved, available workspace, and whether you need clean folds, straight trimming, or intricate interior cuts. Official product pages and retailer specifications are the right place to confirm current compatibility, included accessories, and material guidance.
Closing Thoughts
Paper art becomes more polished when the technique, paper, and tools match each other. Start with a project that lets you practice one skill clearly, such as folding, layering, or controlled cutting. Upgrade only when a repeated problem points to a real need. Clean planning and careful assembly can make a simple design look intentional and well finished.
Useful Things to Know
1. Test cuts, folds, and adhesive on scraps first.
2. Build pop-up structures before attaching decorations.
3. Use minimal adhesive for flatter, cleaner paper artwork.
4. Keep intricate designs within the limits of your tools and paper.
5. A paper trimmer, scoring tool, or cutter is most useful when it solves a repeated task.
Important Notes
Paper weight, texture, adhesive behavior, blade performance, and cutting-machine settings vary by brand and project. Machine compatibility, file support, mat condition, and material settings should be checked before purchase or use. Children’s suitability depends on supervision, tool sharpness, and the maker’s skill level.
Frequently Asked Questions
Q1. What is the easiest paper art technique for beginners?
A1. Simple folded projects and basic layered cards are usually the easiest starting points. They require few materials and help you practice accurate cutting, folding, and adhesive control before moving to intricate designs.
Q2. Is an electronic cutting machine worth buying for paper crafts?
A2. It may be worthwhile if you often cut repeated shapes, use detailed designs, or make small batches of similar projects. For occasional crafting or simple designs, hand tools may provide enough flexibility at a lower initial commitment.
Q3. What type of paper is best for layered paper art and pop-up cards?
A3. Choose paper that cuts cleanly, holds its shape, and folds neatly for your design. Cardstock is often useful for layers, while pop-up cards need paper that can crease accurately without becoming difficult to fold. Test a small sample because results vary by paper brand, weight, texture, and project structure.